Showing posts with label easy art. Show all posts

Sunday, 17 December 2017

BC New Curriculum First Peoples Art: Easy Art

Looking for some BC New Curriculum lessons that cover First Nations objectives?
Here is an easy, First Nations art project that is cross-curricular and covers four different objectives! Students will learn about the First Nations culture, a feature artist, Clarence Mills, and they will create a pop-out bear art project!
New BC Curriculum
This project is CROSS-CURRICULAR!!  It covers multiple objectives.

Science: Recognize First Peoples stories (including oral and written narratives), songs, and art, as ways to share knowledge.

Language Arts: Show awareness of how story in First Peoples cultures connects people to family and community - specifically teaching life knowledge through animal observations.

Art: To study traditional and contemporary Aboriginal arts and arts-making processes.

Application, Technology and Design: Ideating, making and sharing a way to make the bear image pop out of the plate.

Below is a beautiful book to read that helps to tie the lesson together:


Student will learn about the artist who created the graphic we will use for the art project: Clarence Mills!


Clarence is a famous for his totem poles.  There are some great videos of him work below!

Then, students create their own pop-out art!  They have to use their imagination and design skills to create a way for the image to pop out of the paper plate.  Voila!  ADST!!

You will need: 6" paper plates, felt markers, glue and paper to make the image pop-out!

Grade 1

Tuesday, 22 April 2014

Easy Easter Basket Art

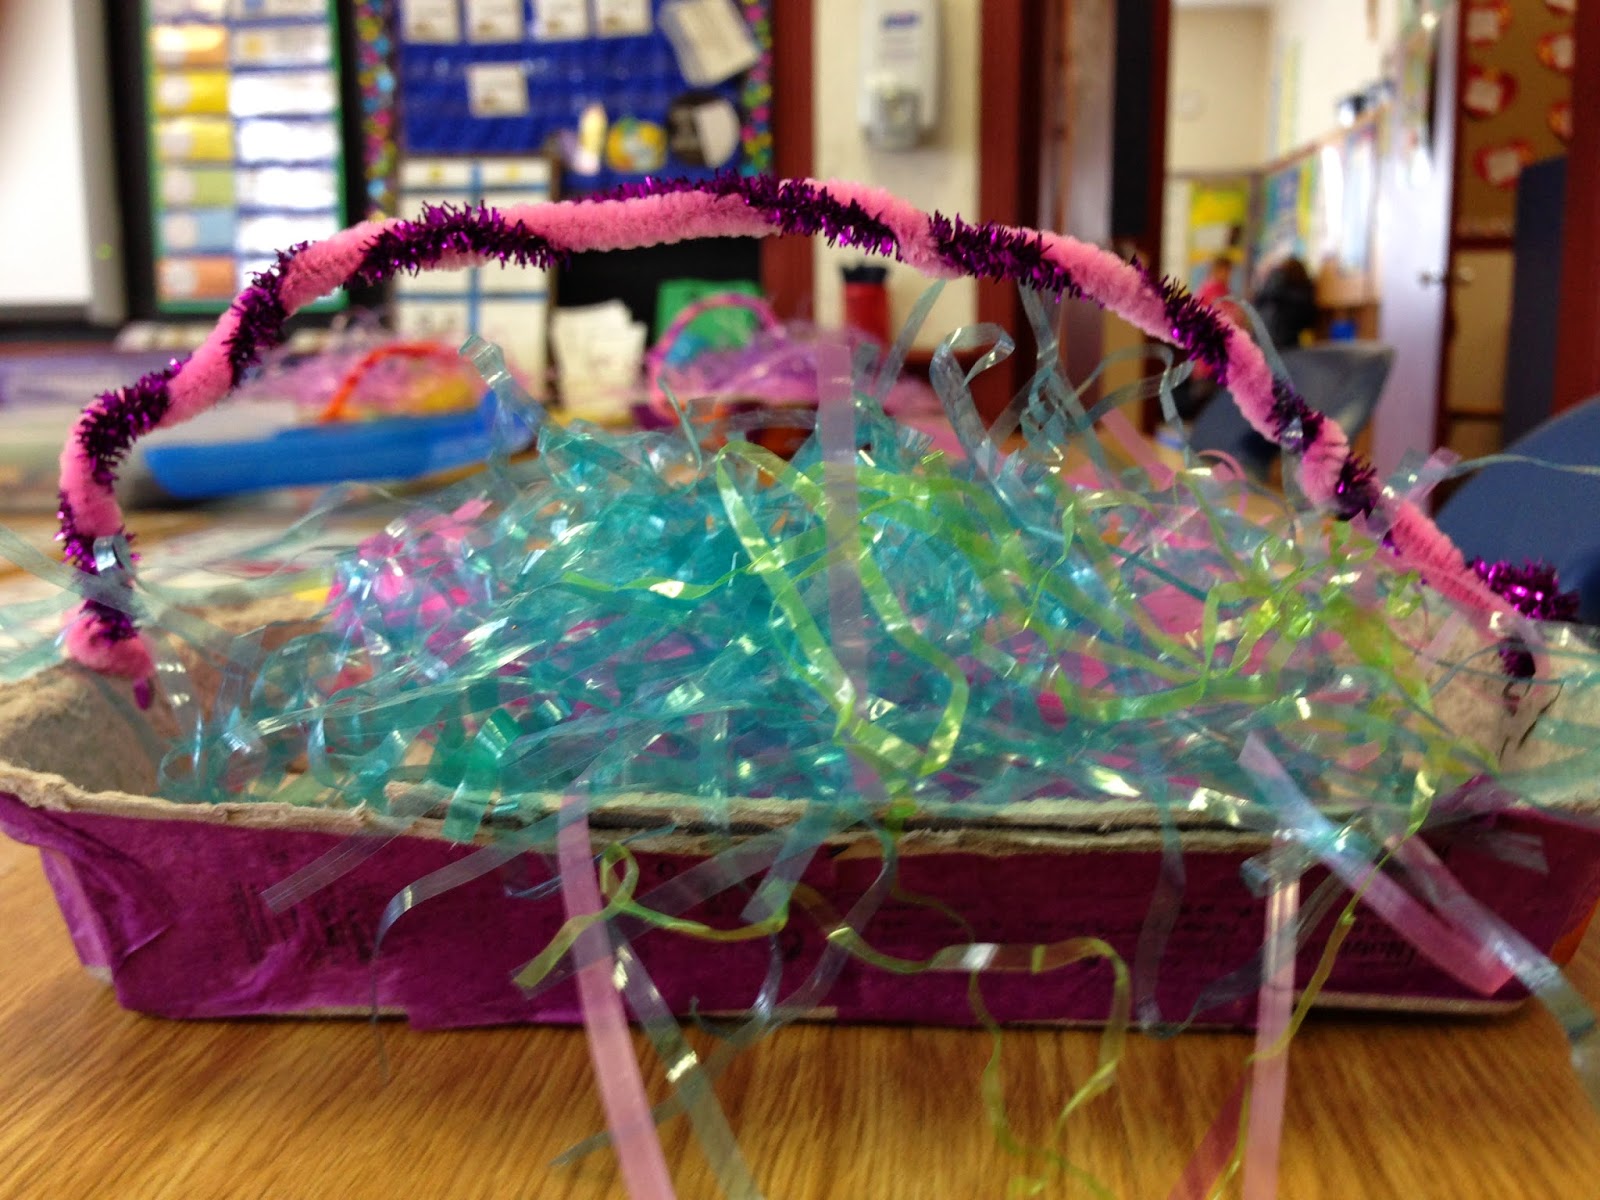
Happy Easter everyone!!  I hope you had as nice a weekend as I did!  I have to share how I came up with my Easter basket idea this year.  I am kind of obsessed with this amazing website called Catholic Icing.  It has SO many great ideas for my 2's that are going to receive their First Communion soon!  So I found this CUTE representation based on Leonardo Davinci's painting of the Last Supper.


Click on the picture above for more instructions on the blog itself!  Thank goodness we got our buddies to help us make them as they were so fun but quite the undertaking!


Anyhow, at the end of it all I had all these lids from the egg cartons we used.  Initially they all got thrown into the recycle bin.  Then, as I was circulating - you like that lovely teacher word? - I do - it sounds so formal and teachery...anyways so as I was circulating I had an idea!  I would use them to help make our Easter baskets this year!


What you will need:

egg cartons - lids will do but both sides will work
hole punch
stapler or white glue
pipe cleaners
paint brushes
water/glue containers
placemats to cut down on the mess
Easter grass


First, have students cut the lid in half.  Next, have students slide the carton together to make whatever size basket they wish.  They may have to cut out some of the carton so that it will fit nicely together like a piece of lego or a jigsaw puzzle.  Then, have your students glue, or staple to save time, their carton together.  Hole punch each side and add pipe cleaner for the handle - choose a different colour for each side, attach them and then twist them together in the middle.  Use colourful tissue paper and a mixture of water and white glue to modge podge the outside - I told my students to just decorate the sides rather than the bottom to save time.  Let them dry overnight.  Finally, add Easter grass and they are ready to go!!

If you have already done your Easter baskets you can always pin it for next year:)  Happy Easter all!!

Tuesday, 15 April 2014

Spring Has Sprung! Easy Art Spring Edition AND Organization Station!

Spring has sprung, the grass has riz - I wonder where the flowers is?  Actually, they are right here in another easy art blog post!!  As you can see we have been learning about flowers and seeds.  Out popped this super easy, yet aesthetically pleasing project!

flower petal art shading pastel

You will need:

faux flower petals from the Dollar Store
yellow construction paper
various types of seeds
white glue
oil pastels

Love the creativity here!!

First, have students put a circle of glue (great time to review this 2D shape) for the flower head.  Have students glue petals all around the circle.  If needed they can add a second layer.


Next, students can glue seeds to make the centre of their flower.  I encouraged them to make a pattern.

spring art primary

Finally, I showed them a shading technique with the oil pastel to make the leaves and stem.  I had the students draw the leaves and stem, then shade one side darker.  After, I had them smudge the pastel with their finger towards the other side to create a cool 3D effect!


I was super impressed with how they turned out!!

The reminds me of something a little Hawaiian princess would wear!

My muffins are so creative!


Voila!  Easy Spring ART!  Huzzah!

Now onto the Language Arts part of the post.  We have been learning about the writing trait of organization.  It is kind of a hard trait to teach!!!  What is organization in writing really?  Sometimes it comes easily but other times it does not!!  I thought we should study some examples more carefully so I came up with - dun, duduh!!  Organization Station!  

primary beginning middle end activities

In the following activity students must read the story, cut it apart and organize it from title and author to end.  Students will then glue it on the provided sheet below.  

Writing traits primary

My kiddos had fun reading, cutting and glueing.  They had to read the stories carefully to ensure they did not mix up the order.  Yes - close reading!!!

Writing Activities

It was so cute - today I ran into a teacher friend in Zumba class.  She came up to me and asked if I had a teacher blog.  When I replied that I did she said that she had seen my blog and was so excited that she knew me!!!  Eeeek!!  It was so cool!!  She is teaching Grade 1 this year for the first time and is loving TpT!  Anyhow, hope all is well in your little classroom!  Happy Spring!!

Monday, 24 February 2014

Easy Plasticine Olympic Sport Sculpture Art and 3 Million Strong TpT Sale

Have you heard about the news?  Three million teachers are part of Teachers pay Teachers! - helping each other provide quality education resources all over the world.  Check out the sale this Thursday and Friday!


Here is my own St. Patrick's Day activity pack you can pick up for a steal!  What luck!!


It includes a little game that practices those wily # partners of 5, 6, 7, 8, 9, 10.  They have been giving my 2's the runaround lately.  I am bound and determined they will have them memorized!


Now for some easy art!!  Hurrah!!! We made plasticine sculptures of various winter sports - perfect for the Winter Olympics - it would be kind of cool to do this as part of a study based on the Paralympics that are beginning now!

This little figure skater is doing a nice deep lunge:)
What you will need:
small paper plates
different colours of plasticine
placemats for desks and easy clean up
glue sticks for rolling pins
toothpicks for reinforcements

First, have students put their names on the bottom of their plate.  Have them soften and roll their chosen colour of plasticine for the bottom or ground of their sculpture.  Explain that they must stretch it out over the entire plate bottom so that no plate is showing.  

Next students must build their sculpture with a sturdy enough body so that it does not fall over - demonstrate how to stick toothpicks in the middle of each body part - especially when connecting any limbs - to ensure sturdiness.

Encourage creativity.  Discuss adding small details to make the sculpture interesting - try to avoid big mounds of unrecognizable sporting mania:)  Show how adding eyes, and stripes on the pants, etc. will make the sculpture eye-catching and appealing!

Check out this gnarly snowboarder - I love the slopes she has got going on - definitely shreddin' some pow!
We usually have the parents and other grades by for a little museum - the kids write about their sport.  They love this but we will not be doing that this year - this week the Grade 1's are having their Career Day on Friday so that will be enough!!:)
Hope your Monday was super!


Thursday, 6 February 2014

Easy Valentine's HeArt - Hee hee

Time for another installation of Easy ART!  This is starting to be my favourite blog inspiration.  Ok - so my student teacher found this idea on pinterest to use hearts to make different animals.  This might be the easiest, cutest, most enjoyed art ever!!  She decided to read the class Rainbow Fish by Marcus Pfister first.  Then she taught the class how to make the fish.  What I think is hilarious is how much the fish resemble each of the students that made them:)  Hee hee!!

So cheerful!!  

What you will need:

brightly coloured paper
heart tracers
felts
glue
googily eyes


Here we have a lovely angel fish!  Shimmer and float!!!

Directions: Have students make their big body heart first by folding their paper like a hot dog  Have them draw an ear shape (I always get them to feel the outside of their ear to get an idea of what half a heart is like.)  Next, have students used tracers to create other hearts for the tail, lips, and fins with different coloured paper.  Add details with felts for texture and Voilà!!  Magnifique!!!

Apparently this one is a fighting fish!!

I call this one the triangle head fish!

This can only be a puffer fish!  Watch out for this one!!

The best part is I heard one of my boys say, "What a cool idea!!"  I told him to tell my student teacher!

Also, I have just finished my newest set of plays/ Reader's Theater packet!!  I had so much fun writing them once again and the last set of Nativity plays were such a hit with my class I had to do more!!

Reader's Theater Primary

Plus I found these cute, cute graphics from Teaching in the Tongass!  There is such talent in graphic design out there!!

Simple readers primary

Here are the colourful print out version to paste onto popsicle sticks!!  Insta-puppet!!

Reader's Theater primary easy beginning readers

Happy Valentine's Day next week all!  Turns out it is also our 100th Day of school!  EEEEEeeek!!!  Minor panic attack....and I'm done:)

Be sure to check out last year's post for more good ideas!

Sunday, 19 January 2014

Anyone for a Freggie Tale? (FREEBIE included!) AND Easy Marshmallow Print Snowman Art

Happy New Year bloggy world!!  This is my first post for 2014 and I am excited for all the things to come!!!
primary easy

Before I explain how we made this cute little snowman art project how about a selfie!!!  I heard this was all the rage or maybe overused now?  Apparently selfie is the new # just like Snapchat and Instagram are the new Facebook!!


Here I am wearing my new necklace that I got for my birthday from my Aunt and Uncle - they are so sweet!!  My arm looks MASSSIVE!!  Not sure I am such of fan of the selfie - lol!!

Anywho - here is how we did our little art project this week:

You will need:

bright paper
large marshmallows
white paint in little containers
buttons for eyes
anything orange and papery for noses
jewels or baby pom poms for buttons
any kind of stretchy ribbon for a scarf - I unearthed some Easter coloured elastic - don't know where it came from but it worked
a black felt to draw on the arms
bright coloured paper for the hats


Students dipped the marshmallow in the paint and created the snow covered ground.  Then they used the marshmallow to make the body of the snowmen - making sure to lift straight up as they made each circle.


Students added details before the paint dried.  Don't you love how this one below turned out?  I love how you can see the purple paper through the white paint.  It kind of gives a nice texture and depth!


There is something so satisfying about that marshmallow squish onto the paper oooozzzzing white paint and creating a perfect round circle - sigh - I love art!

easy use marshmallow

Now for a little Health snack!!  So I got this e-mail from my principal about this new health resource and I was pleasantly surprised when I checked it out!  Apparently it has really caught on in Ontario and it is FREEEEEEE!!!!  YES!   Click on the picture or HERE to get your copy now!!


I love how nicely it is laid out - the lessons fit on one or two pages and the activities are fun and meaningful!!  I started the first lesson for Grade 2 this week and we read one of my favourite stories called I Will Never NOT EVER Eat a Tomato by Lauren Child.


Then, I had prepared 4 envelopes with food picture cut outs from the 4 food groups - I snagged a stack of fliers from Choices - the cashier at the checkout was a doll and let me have a bunch when I told her I was a teacher!  Students had to guess which one of the pictures did not belong!!  Great introduction to the 4 groups. 


Then each kiddo got a flier and cut out fruits, veggies, meats, breads etc. to match the suggested servings according to the Canada Food Guide for a child their age.  They glued these onto a paper place - I find so many uses for these cheapo paper plates!! - they turned out totally cute!


Here is a little freebie I made up after the fact to go along with this activity!

Click HERE to download!

Happy January folks!!  Time to start eating healthy!!

Monday, 9 December 2013

What's a matter with you? and Easy Christmas Tree Art

Well my teachers friends - this matter unit is NOT for the faint of heart.  Yes I did use the word viscosity and volume - oh and even properties and matter!  It is important vocabulary and I think that kids need to understand these ideas now before it is too late and they are in high school chemistry and just discovering that water does not actually gain "coldness" - heat is taken away!!!  Aaack!!  I learned so much! 


science demonstrations for teaching about solids, liquids, and gases

Science Demonstrations for teaching about solids, liquids, and gases

Click on any of the pictures to check this item out at my TpT store.

 science primary

Above is the front cover our our little matter lab book.  Every demonstration has a little write up to go along with it and a concluding wrap up statement for kids to fill in the blanks.  


Here are pictures from our culminating Science Fair.  It was a blast.  The girls above are doing Baggie Blow Up.  The boys below are doing Floater Boat or Sinker Stinker!!  It was an amazingly FUN mess!!  P.S.  Thank you to my amazing partner teacher Meg who always goes above and beyond for her students.  She helped me make and test out this unit - without her it would not be as wonderful as it is!!


Click HERE for some additional experiments!!

Today we took the Polar Express around the world to Germany.  I am using a wonderful little unit by Amanda Tervoort called Christmas Around the World.  I wanted to make a Christmas tree to go along with it so I came up with this!


You will need: 

blue construction paper
coffee filters
brown construction paper cut into rectangles for trunks
green tempera paint
star stickers and square stickers
sequins and beads for decorations
black marker
glitter glue
glue sticks
glue bottles


First, students will glue on the trunk.  Then, have students fold coffee filters into quarters and glue these one on top of the other.  P.S. Coffee filters are also awesome for holding popcorn while watching movies with your class right before Christmas holidays!!


Next, have students paint their tree with green tempera paint.  Finally, students can use white glue and stickers to add decorations.  My kiddos were SO into this!!!  They even look a little 3D!


Merry Christmas!!